Transfer a travel eSIM to a new phone: A safe pre-trip checklist
mySIM24 Redaktion · Published 8/3/2026 · Updated 8/3/2026 · 5 min read
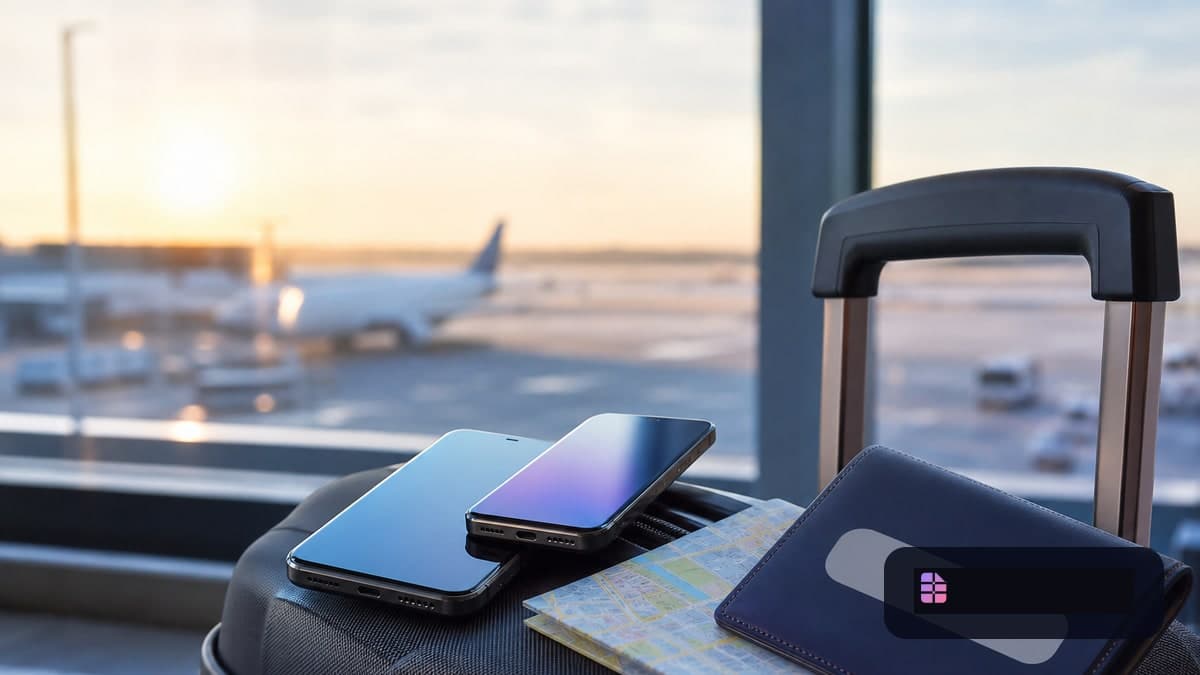
A new phone does not automatically mean a transferable travel eSIM
Replacing a phone just before a holiday can be practical, but it can also leave you without maps, booking details or mobile data when you need them most. The key rule is simple: do not erase the old phone or delete its eSIM until the new phone is connected and tested.
Treat your plans as two separate things:
- your regular number, used for calls, SMS and account verification;
- your travel eSIM, usually used for data in the destination country or region.
Whether an eSIM can move directly depends on the carrier or eSIM provider, the two devices and the transfer method. Apple’s eSIM setup guidance, published on March 10, 2026, states that Quick Transfer depends on carrier support. Google likewise notes that Android transfer details can vary by carrier.
Prepare before changing anything
Before resetting, trading in or selling the old device, check that the new phone supports eSIM and is not locked to a different carrier. See which devices support eSIM if you need a compatibility check.
Have both phones charged, unlockable and connected to reliable Wi-Fi. Make sure you can access your email account, password manager and the account used to buy the travel eSIM. Keep the QR code, activation link or manual installation details available, but do not leave sensitive screenshots openly accessible.
Google’s Android migration guidance also recommends charging both devices, being able to unlock the old one, backing up data and having Wi-Fi ready. For automatic eSIM transfer on supported Android devices, Google lists Android 12 or later, current Google Play services and screen locks on both devices among the requirements.
Move your primary number first
Your main number should normally be the first plan you move. It may receive calls, SMS verification codes and messages needed to restore accounts. If you rely on banking messages while travelling, read travel eSIMs and TAN/SMS abroad before departure.
On iPhone, an eligible number may be transferred during setup or later from Settings > Cellular > Add eSIM. The phones need to be nearby, Bluetooth needs to be on and the carrier must support the process. When the new iPhone activates the transferred plan, the old SIM is deactivated.
On supported Android phones, the option may appear in the setup flow. If it does not appear, do not assume the handset is faulty. Your mobile carrier may need to issue or activate the eSIM through its own process.
Handle the travel eSIM as a separate task
A travel eSIM is not always transferable in the same way as a domestic carrier plan. Some travel profiles are designed for a single installation or are tied to the original device. Whether you can reinstall the QR code, need a fresh activation link or retain unused data is determined by that specific provider’s terms.
Before doing anything, check the provider account or support information:
- Is transfer to a replacement phone supported?
- Can the original QR code be scanned again?
- Is a new QR code, link or manual installation code required?
- Does the package validity period continue unchanged?
- What happens to remaining data?
If you have not installed the travel eSIM yet, the lowest-risk option is usually to keep the purchase information and install it directly on the new phone. Follow our iPhone and Android eSIM installation guide.
A safe iPhone workflow
Set up the new iPhone over Wi-Fi, transfer apps and data, then move and test the primary number first. Confirm that calls, SMS and essential account logins work. Only then check whether the travel eSIM is presented as transferable. If it is not, use only the method authorised by the travel eSIM provider: QR code, activation link, provider app or manual details.
Give the lines clear labels such as “Home number” and “Travel data.” When abroad, set mobile data to the travel eSIM. Keep the home line active for calls and SMS if needed, but review data roaming on that line so it cannot unintentionally use chargeable roaming.
Android: settings differ, principles do not
Android menus vary by manufacturer. On supported devices, you may select the SIM during setup, approve the transfer and activate it on the new phone. If the travel eSIM is absent, do not delete it on the old phone first. Secure the provider’s installation details and use its approved reinstallation path, often found under network, connections or SIM manager settings.
After installation, check three points: the travel eSIM is selected for mobile data; its data-roaming setting matches the provider’s instructions; and the home SIM remains available for calls and SMS without accidentally becoming the data line.
Run a real test before departure
Test the primary number with a call and SMS. Briefly test mobile data with Wi-Fi switched off, where doing so does not create unexpected charges. Open your maps, airline, accommodation and authentication apps. Finally, verify the names of your SIM lines and the selected data line.
If the travel eSIM should activate only after arrival, confirm that the profile is installed and visible, then follow the package’s activation conditions. Some plans begin at installation; others start only when they first connect to a network.
Keep the old phone charged in your hand luggage until the switch is fully confirmed. For a loss or theft scenario, use our guide on a phone lost or stolen abroad.
Sources
- Apple Support, “Set up eSIM on iPhone,” published March 10, 2026: https://support.apple.com/en-la/118669
- Google Pixel Phone Help, “Transfer a SIM to a new phone”: https://support.google.com/pixelphone/answer/16115951?hl=en
- Google Android Help, “Switch to a new Android device”: https://support.google.com/android/answer/6193424?hl=en-en